使用合约开发套件
安装 xdev 工具
1 | $ go get -u -v github.com/xuperchain/xuperchain/core/cmd/xdev
|
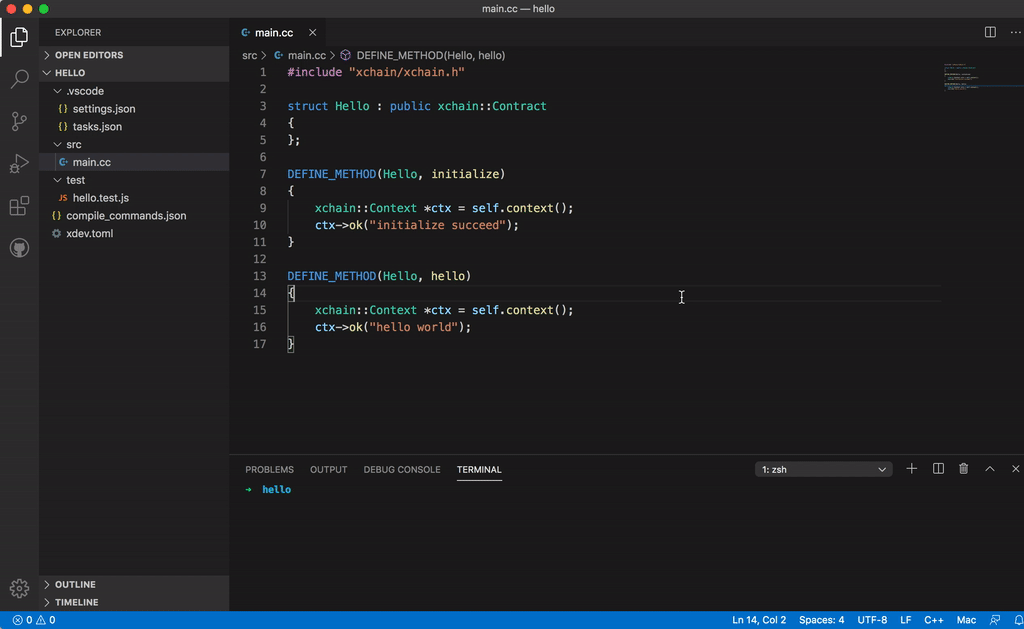
编译合约
第一次编译的时间会长一点,因为xdev需要下载编译器镜像,以及编译超级链的标准库。
1 2 3 | $ xdev build -o hello.wasm
CC main.cc
LD wasm
|
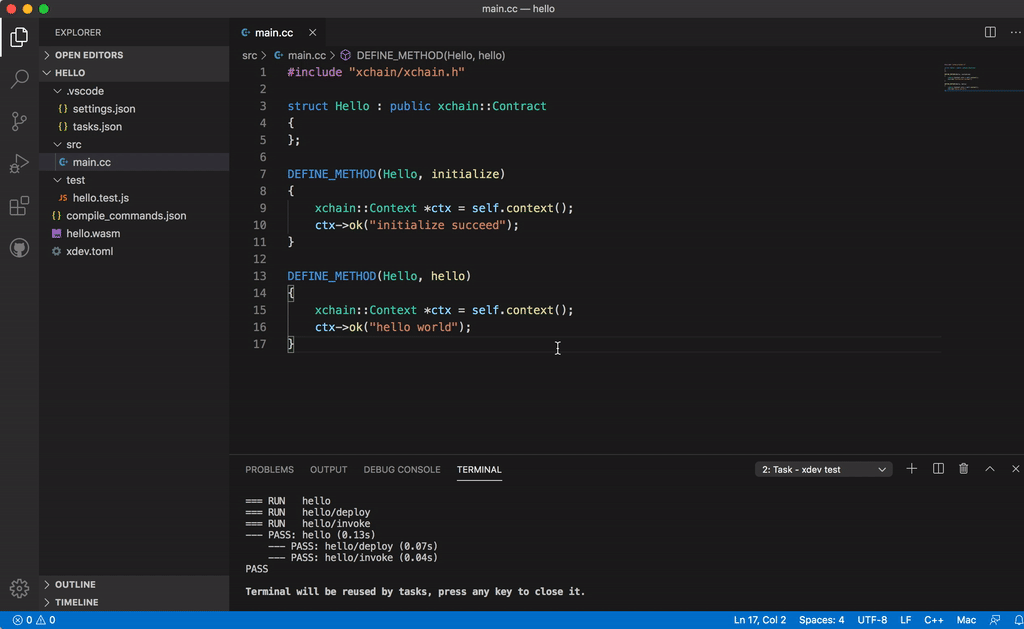
合约单测
如果每次测试合约都需要部署到链上再发起调用会特别麻烦,xdev工具提供了单测能力,可以脱离链上环境运行合约。
test目录下放着合约测试文件,文件以 .test.js结尾,可以有多个测试文件。 以hello-cpp目录下的test/hello.test.js为例,文件内容如下:
1 2 3 4 5 6 7 8 9 10 11 12 13 14 15 16 | var assert = require("assert");
Test("hello", function (t) {
var contract;
t.Run("deploy", function (tt) {
contract = xchain.Deploy({
name: "hello",
code: "../hello.wasm",
lang: "c",
init_args: {}
})
});
t.Run("invoke", function (tt) {
resp = contract.Invoke("hello", {});
assert.equal(resp.Body, "hello world");
})
})
|
使用Test函数来定义测试case,hello为测试名字, 匿名js function作为测试的body。 全局对象xchain是我们跟xchain环境打交道的入口,xchain.Deploy用来部署一个合约到xchain环境,返回的contract对象,调用contract.Invoke方法即可调用合约。 Deploy和Invoke方法都是通过抛出异常的方式来处理错误,测试框架会自动捕获错误来结束测试case。t.Run可以定义子测试case。
使用如下命令来启动测试
1 2 3 4 5 6 7 8 9 | $ cd hello-cpp
$ xdev test # 测试test目录下的所有case
=== RUN hello
=== RUN hello/deploy
=== RUN hello/invoke
--- PASS: hello (0.11s)
--- PASS: hello/deploy (0.07s)
--- PASS: hello/invoke (0.02s)
PASS
|
部署合约
$ xchain-cli wasm deploy --account XC1111111111111111@xuper --cname hello  --fee 5200000 --runtime c ./hello-cpp/hello.wasm
contract response: initialize succeed
The gas you cousume is: 151875
The fee you pay is: 5200000
Tx id: 8c33a91c5cf564a28e7b62cad827ba91e19abf961702659dd8b70a3fb872bdf1
配置编译和测试task
为了方便在vscode里面编译和测试合约,在 .vscode/tasks.json 里面添加如下内容
1 2 3 4 5 6 7 8 9 10 11 12 13 14 15 16 17 18 19 20 21 22 23 24 25 26 27 | {
// See https://go.microsoft.com/fwlink/?LinkId=733558
// for the documentation about the tasks.json format
"version": "2.0.0",
"tasks": [
{
"label": "xdev build",
"type": "shell",
"command": "xdev build -p",
"options": {
"cwd": "${workspaceFolder}"
},
"group": {
"kind": "build",
"isDefault": true
}
},
{
"label": "xdev test",
"type": "shell",
"command": "xdev test",
"options": {
"cwd": "${workspaceFolder}"
}
}
]
}
|
代码补全
为了让vscode帮我们自动补全代码,需要做如下配置,在项目的.vscode/settings.json文件里面加上这一个配置
1 2 3 | {
"C_Cpp.default.compileCommands": "${workspaceFolder}/compile_commands.json"
}
|
之后就能用vscode的自动补全功能了.